

Know Your Power Consumption | Amperage Matters
Be mindful of the amount of amperage you’re drawing through your lighting circuit and to not exceed the circuit component limitations. The amount of power (amps) you’re pulling through the circuit will vary based on a combination of three factors:
1) The number of LEDs in the circuit.
2) the amount of copper wire (and gauge of that wire) in the circuit.
3) the input voltage to the lighting circuit.
If any of the wires in your lighting system (including fuse holders) are hot (or melt), it's a clear sign too much amperage is flowing through the circuit. The cause could be several things: higher-than-expected input voltage, greater overall resistance from the number of LEDs and length/gauge of wiring in the circuit, a short somewhere in the circuit, or a combination of these factors. If you've confirmed you don't have a short in the system or that you haven't exceeded the maximum rated capacity in terms of the number of LEDs, length and gauge of copper wire in the system, the likely issue is higher than expected input voltage.
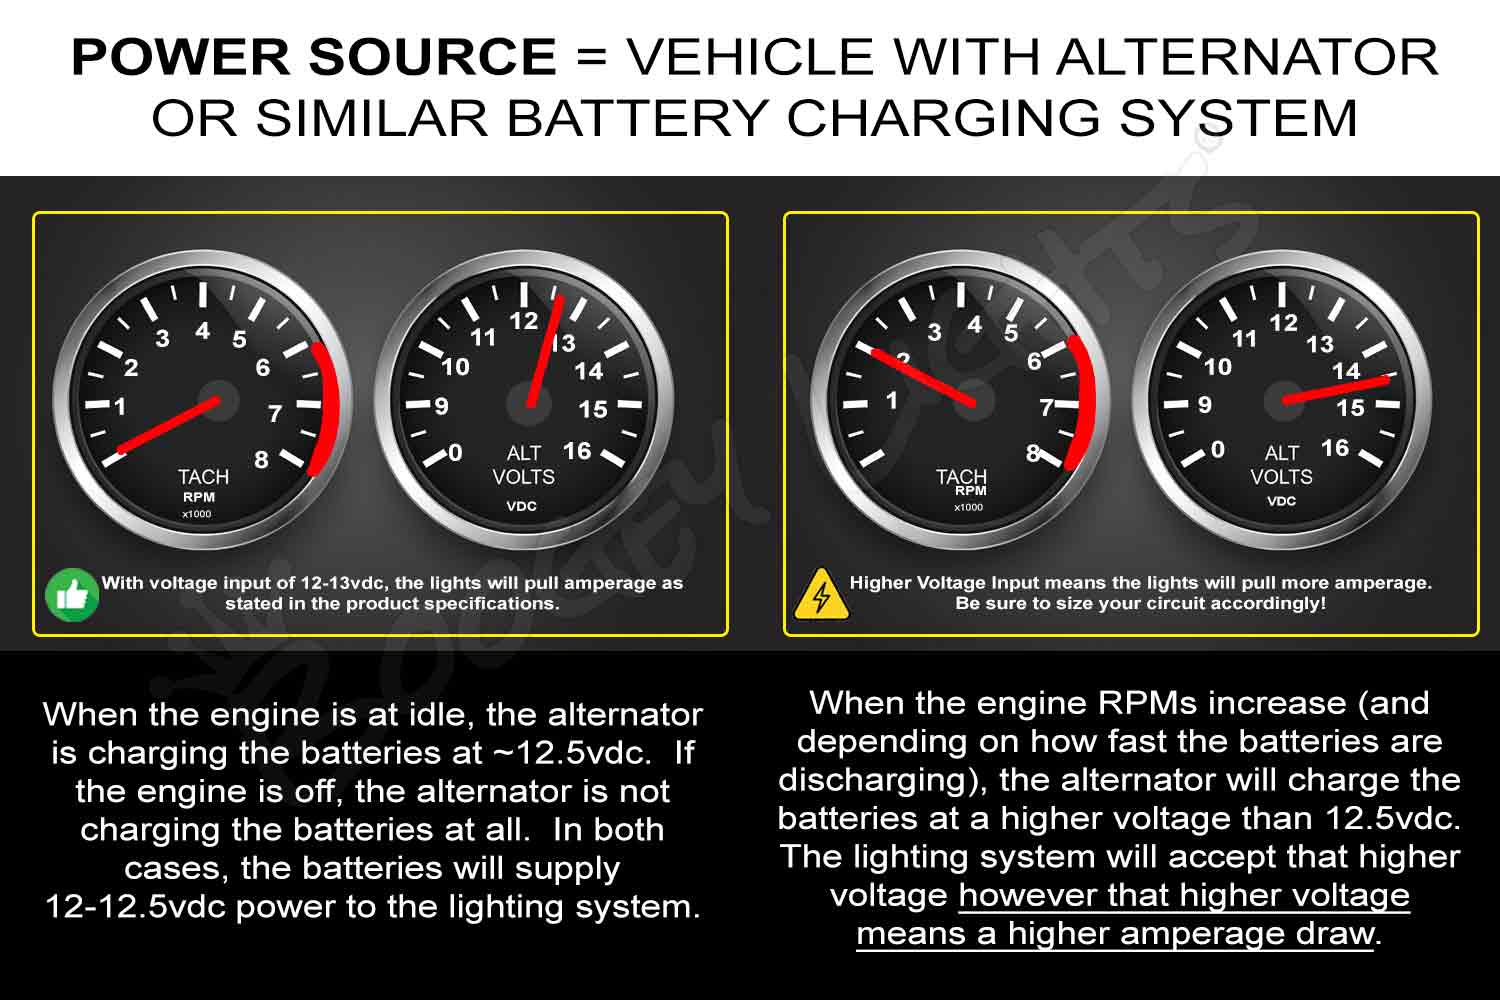
The amperage ratings for our switches, controllers and LEDs assume an operating range of 12.5vdc - 13.5vdc. If you're wiring your lights to a vehicle that has a charging mechanism (e.g. alternator), the input voltage will absolutely increase when the engine is on; particularly as RPMs increase. It's not unusual for an alternator to charge the battery at a rate of 13.5 to 14.5 vdc depending upon the vehicle. Increasing the input voltage to the LED Controller/LEDs will also increase the amperage draw of those LEDs. For example, we’ve seen circuits that draw 17 amps when the engine is off (input voltage = 12.5vdc) but jump up to drawing 24 amps when the engine is on and RPMs increased. This is because the input voltage jumps to 14vdc or more when the engine is running.
For RV installations, you usually don’t have to be concerned with this issue if you are connecting directly to the house batteries. Most RV house batteries are charged via a multi-stage battery charger (converter/inverter) and/or has a power regulator to avoid over-charging the house batteries. Connecting to the house batteries too also eliminates the possibility of over-loading an existing circuit in the RV or interfering with any other electrical systems in the RV. That said, more and more RV these days have elaborate solar systems installed. If your RV has a solar system installed, it's possible the house battery charging rates can at times exceed 13.5vdc which means the input voltage to your lighting system will during those times, be higher than 13.5 vdc and result in higher amperage draw.
For all other motorized vehicles (wrecker, semi-truck, pickup truck single color installations especially) your only option is usually to connect to the vehicle’s starter battery which is being charged by an alternator. Generally speaking, you don’t have to be concerned about this issue if you’re not within 60% or more of the collective max amperage rating for the components in your circuit. If however you’re at or above that 60% rated load, we strongly suggest measuring actual amperage drawn for your installation to make sure it's fused and wired appropriately given the highest possible amperage draw when the alternator is charging the system at peak RPMs. If you have an over-voltage situation due to the alternator, there are solutions:
1) Install a voltage regulator that will limit the input voltage going to the lights to keep it in 12.5 vdc - 13.5 vdc range regardless of the alternator output voltage.
2) If a single color installation, add a second fuse/relay circuit and balance the LED load between those two circuits. Doing so will effectively cut the load by 50% per circuit.
3) If a multi-color installation, add an additional LED controller and balance the LEDs between the two controllers to keep amperage within acceptable limits on each controller.
⚠️ Note that while Boogey Lights® LEDs will accept up to 18vdc (and LED controllers up to 14.5vdc) operating the system at these higher input voltages will reduce the life of the system. Over-voltage lighting system component failures are not covered under warranty.
Note: A 12vdc Clamp On AMP meter will tell you precisely how much amperage is flowing through each wire in your lighting ciruit. When in doubt, measure amperage in your circuit with a clamp on AMP meter. We measure amperage using a 12vdc clamp-on amp meter on every large installation we do just to make sure our pre-installation calculations are correct and within acceptable limits for the circuit design.