
Did you purchase a vehicle that has Boogey Lights® installed on it?
We often get calls from folks who purchase a used vehicle (RVs in particular) that has a Boogey Lights® lighting system already installed wanting to know how to operate the system, trouble-shoot it, purchase parts for it, expand it, etc. This page provides links to resources to assist you in figuring out what exactly you have and where to find information related to that system. Scroll down and expand the sections below.
Overview: Understanding the Basics
Most of our lighting systems will have two primary components: one (or more) Boogey Lights® LED light strips installed and a Boogey Lights® LED Controller (or switching mechanism).
The LED Controller is the heart of the system. It's what operates the lights. For multi-color (RGB, RGBx, RGBxx) systems, the LED controller is required. For single color systems (red, white, etc), an LED controller is not necessarily required but there will be some sort of command/control mechanism that operates the lights (on, off, dim, etc.). In both cases, the controller will be connected to a 12vdc power supply of some type; usually a 12vdc battery or series of 12vdc batteries. For large installations (e.g. RV Under-Glow, Semi-Truck Under-Glow), the controller will likely be mounted in the same location as the house/truck batteries. For smaller installations such as an RV Awning light, the controller will likely be mounted inside the RV usually inside a cabinet or similiar structure.
Regardless of the vehicle, you will be able to trace the power leads coming from the LED strips mounted to the vehicle back to the controller/power source. It's not difficult to do but it can take some time to reverse engineer the installation. If your system is multi-color with an LED controller, the controller will be obvious. It will have the Boogey Lights® name on it with a model number on the back (model number begins with 'BLRC'). That model number will be important in determining what operating documents are needed (same with parts). If your system is single color and using a simple on/off switch, then it won't be as obvious. To find the controller or switching mechanism, we suggest downloading the installation documentation for the type of lighting system your vehicle has installed. Our documentation is quite extensive in this regard. At minimum you'll be able to see where we recommend the controller be installed along with other helpful installation related details. Whether or not the person who did the installation followed those installation instructions is another matter.
The information on this page provides links to help you identify what you have installed and where to get parts and/or documentation on how to use it. Scroll down and expand each section.
Where to Find Installation and Operating Documentation
LINK > Installation & Operating Documentation
This page includes links to ALL product documentation. It's organized by vehicle type and then components relevant to that vehicle type. For example, if you have an RV, you need to look in the 'RV, CAMPER, TRAILER' section. In that section, you'll find separate listings for AWNING LIGHTS and UNDER-GLOW LIGHTS (along with others). Then, within those sections, there will be separate categories organized by Install, Wiring, Operating, How-To and Archive. So for example, if you have an RV Under-Glow light system, you'll want to download the installation documentation for that system which you can find here:
Installation Resources > RV, Camper, Trailer > Under-Glow Light Kit Resources > Install > Under-Glow LED Kit Install Guide
We have included a screen shot below of what we're referring to. All of our documents are PDFs so they can be viewed by virtually any device.
Note: The ARCHIVE section is for products which have been discontinued.

Identifying the LED Controller
Assuming you have a multi-color system (most are), there will be an LED controller installed. You'll need to determine which model (model number begins with 'BLRC') you have which will be important for determining how the system is controlled, how to operate it and identifying parts. Here are a two links to assist you:
- List of all controllers currently in production: This page shows all models currently in production with an overview of capabilities/specs for each. If your controller isn't on this list, it's an older model in which case you need to go to #2 below.
- List of all controllers that are out of production: This lists all controllers we've manufactured in the past 15+ years. These controllers have been replaced by the controllers listed in #1 above but you can download documentation and order parts for them even though they're no longer being made.
Once you know which controller you have, you can then download the operating documentation for that controller. And, if you need to order parts for the controller (e.g. RF wireless remote), you can do that too once you know the model.
Here's a link to our current GEN2 LED Controller series. It's been in production since 2023 and is the most common multi-color LED controller we offer. You can see photos of what they look like.
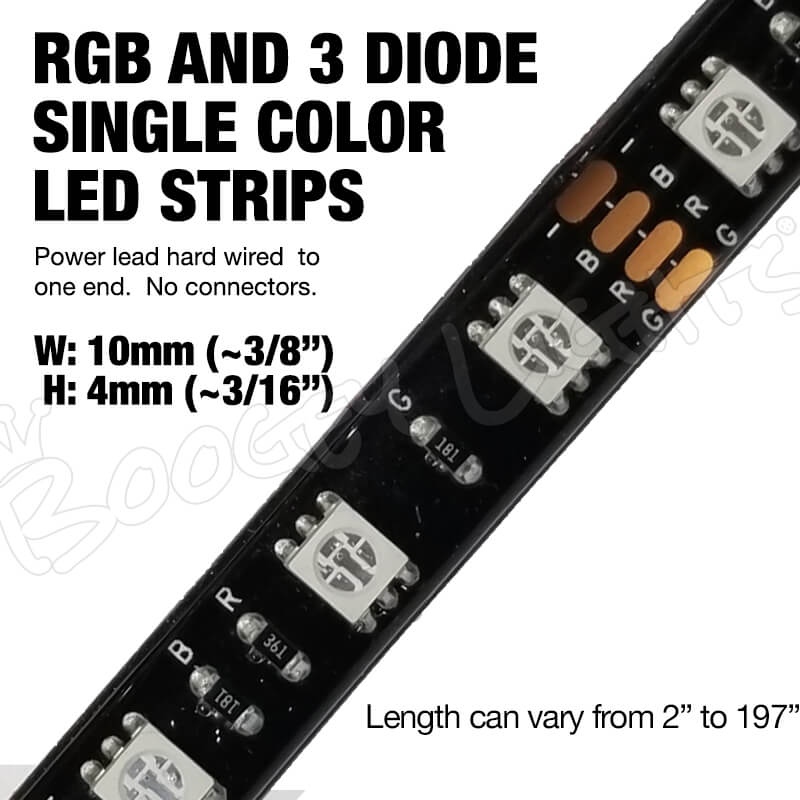
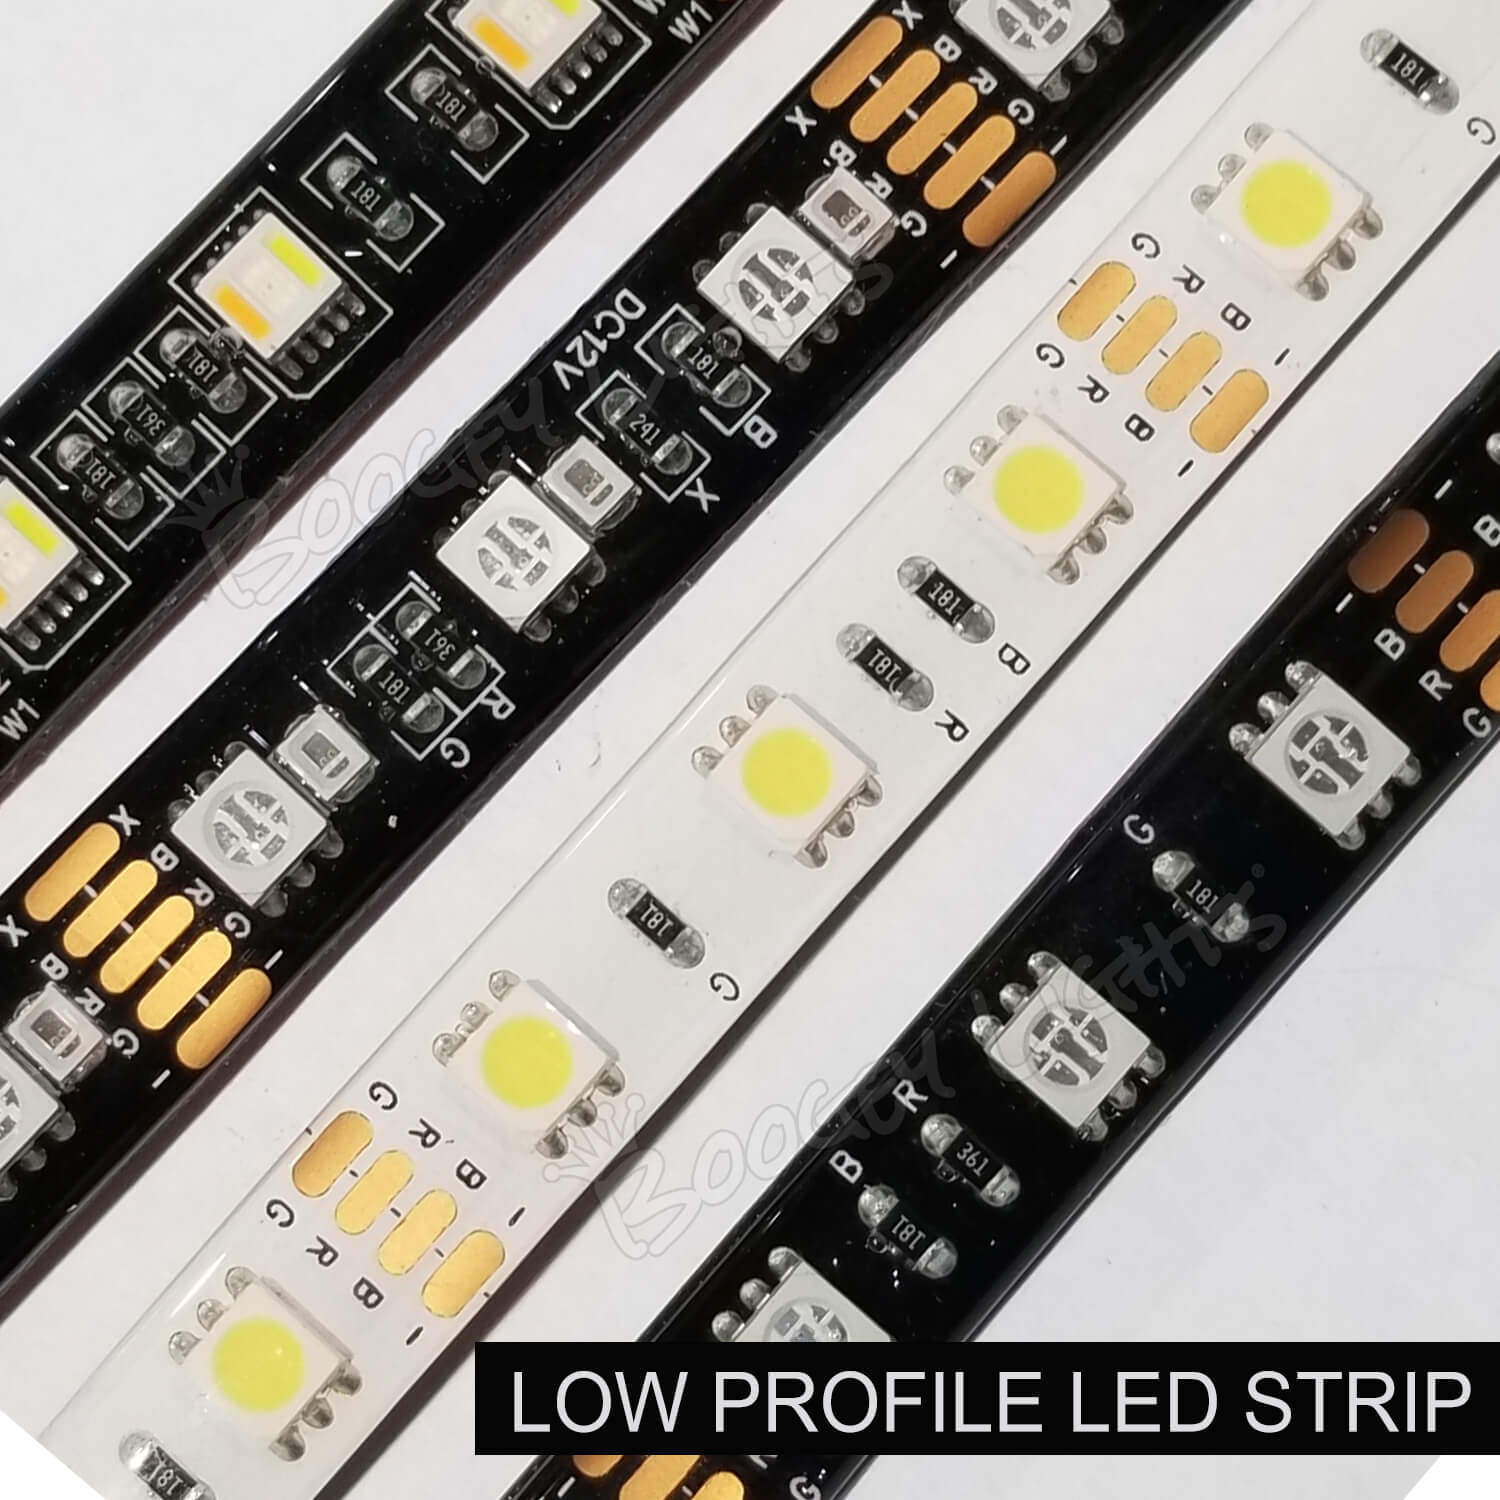
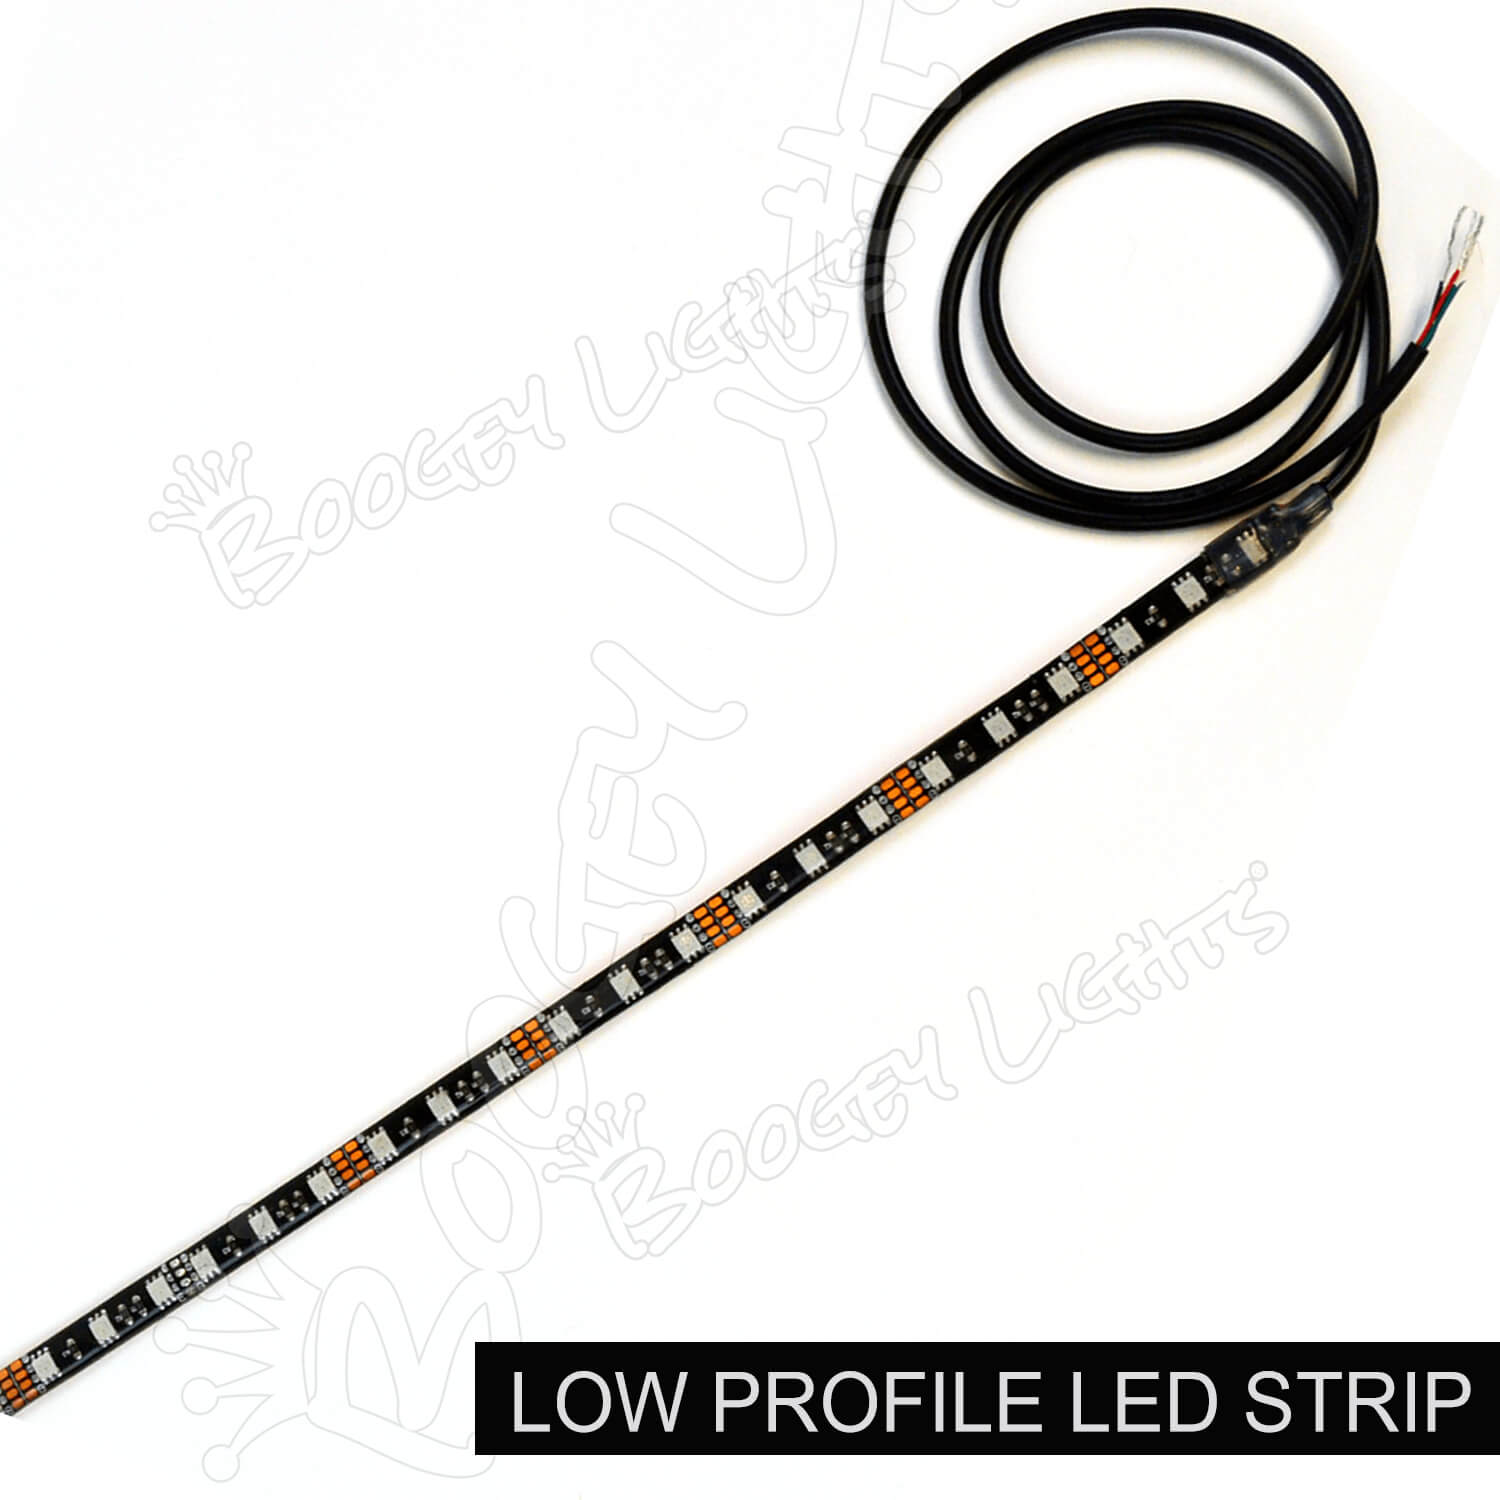
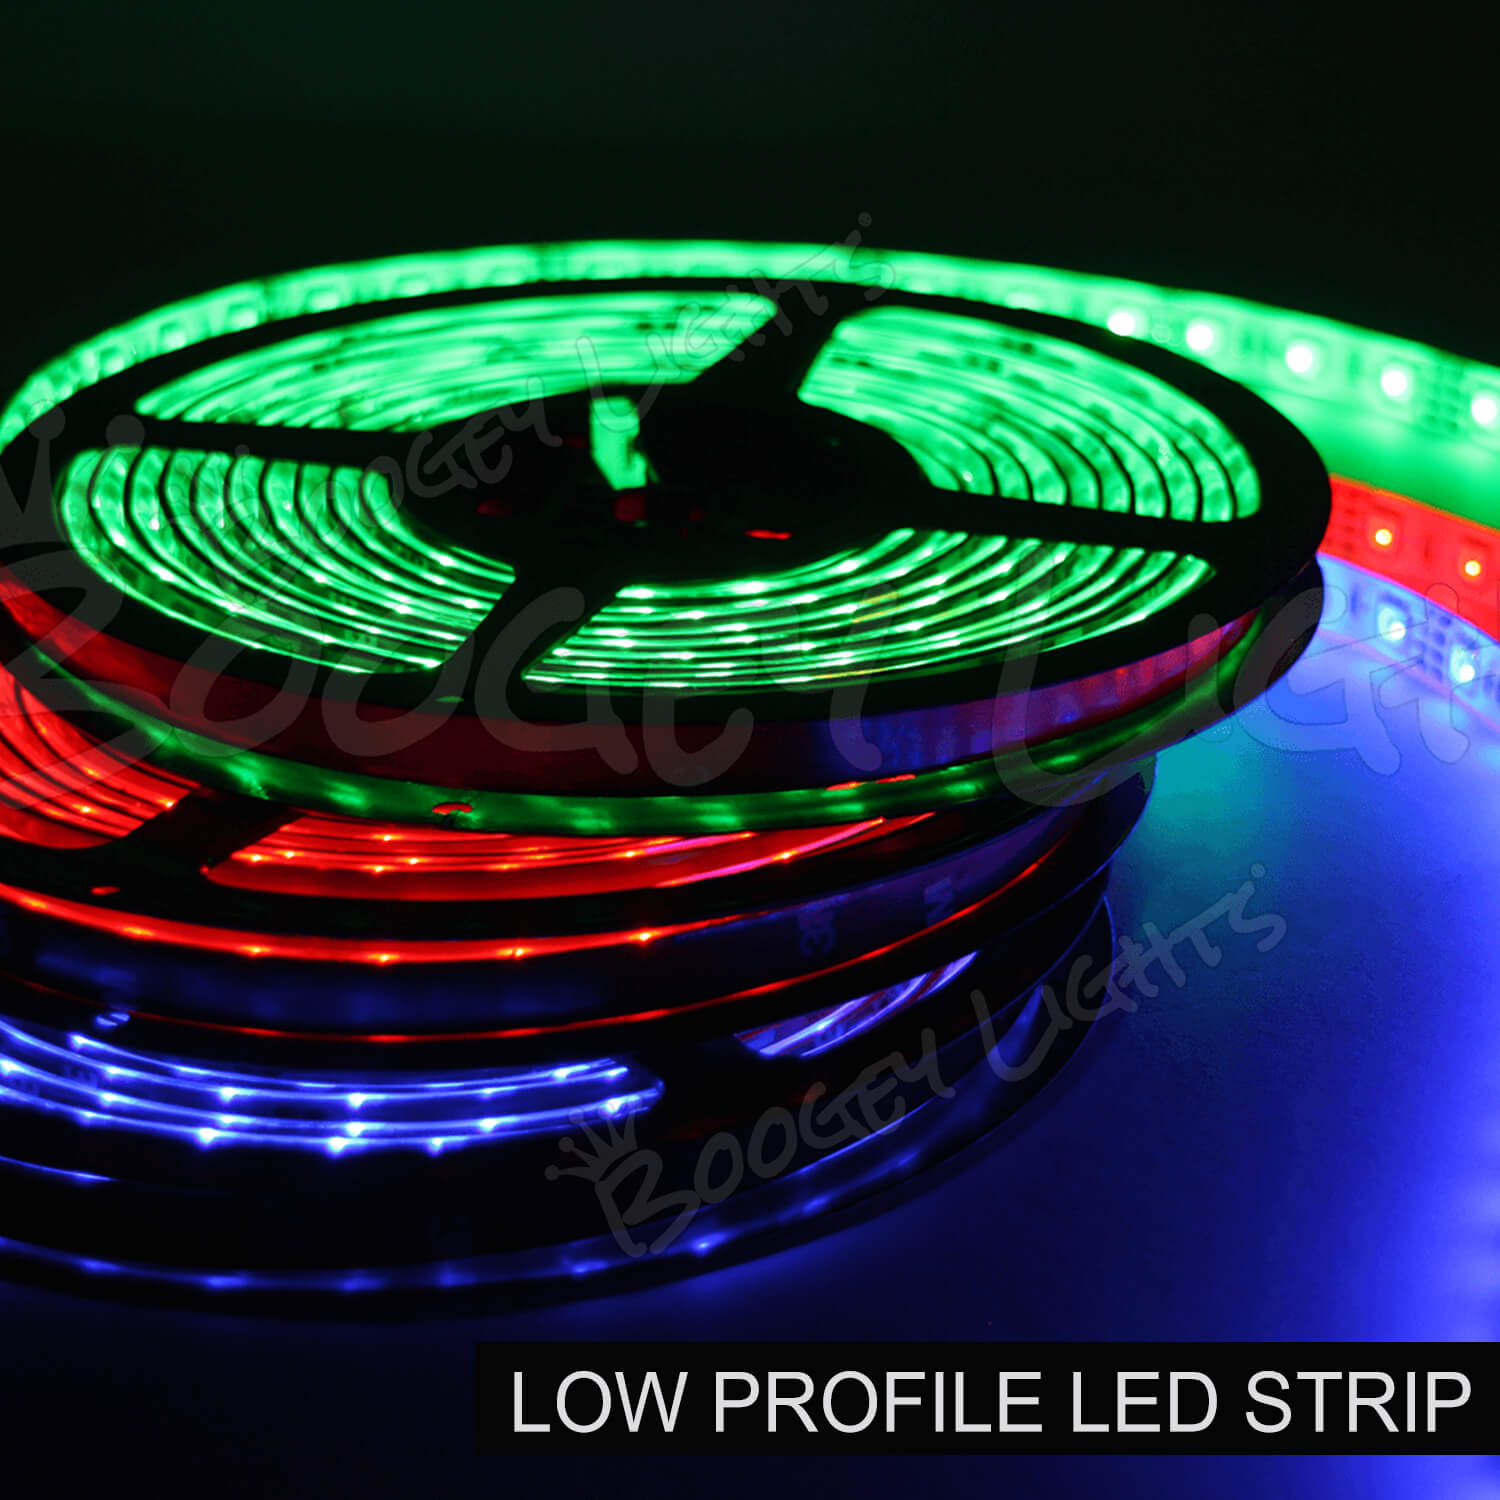
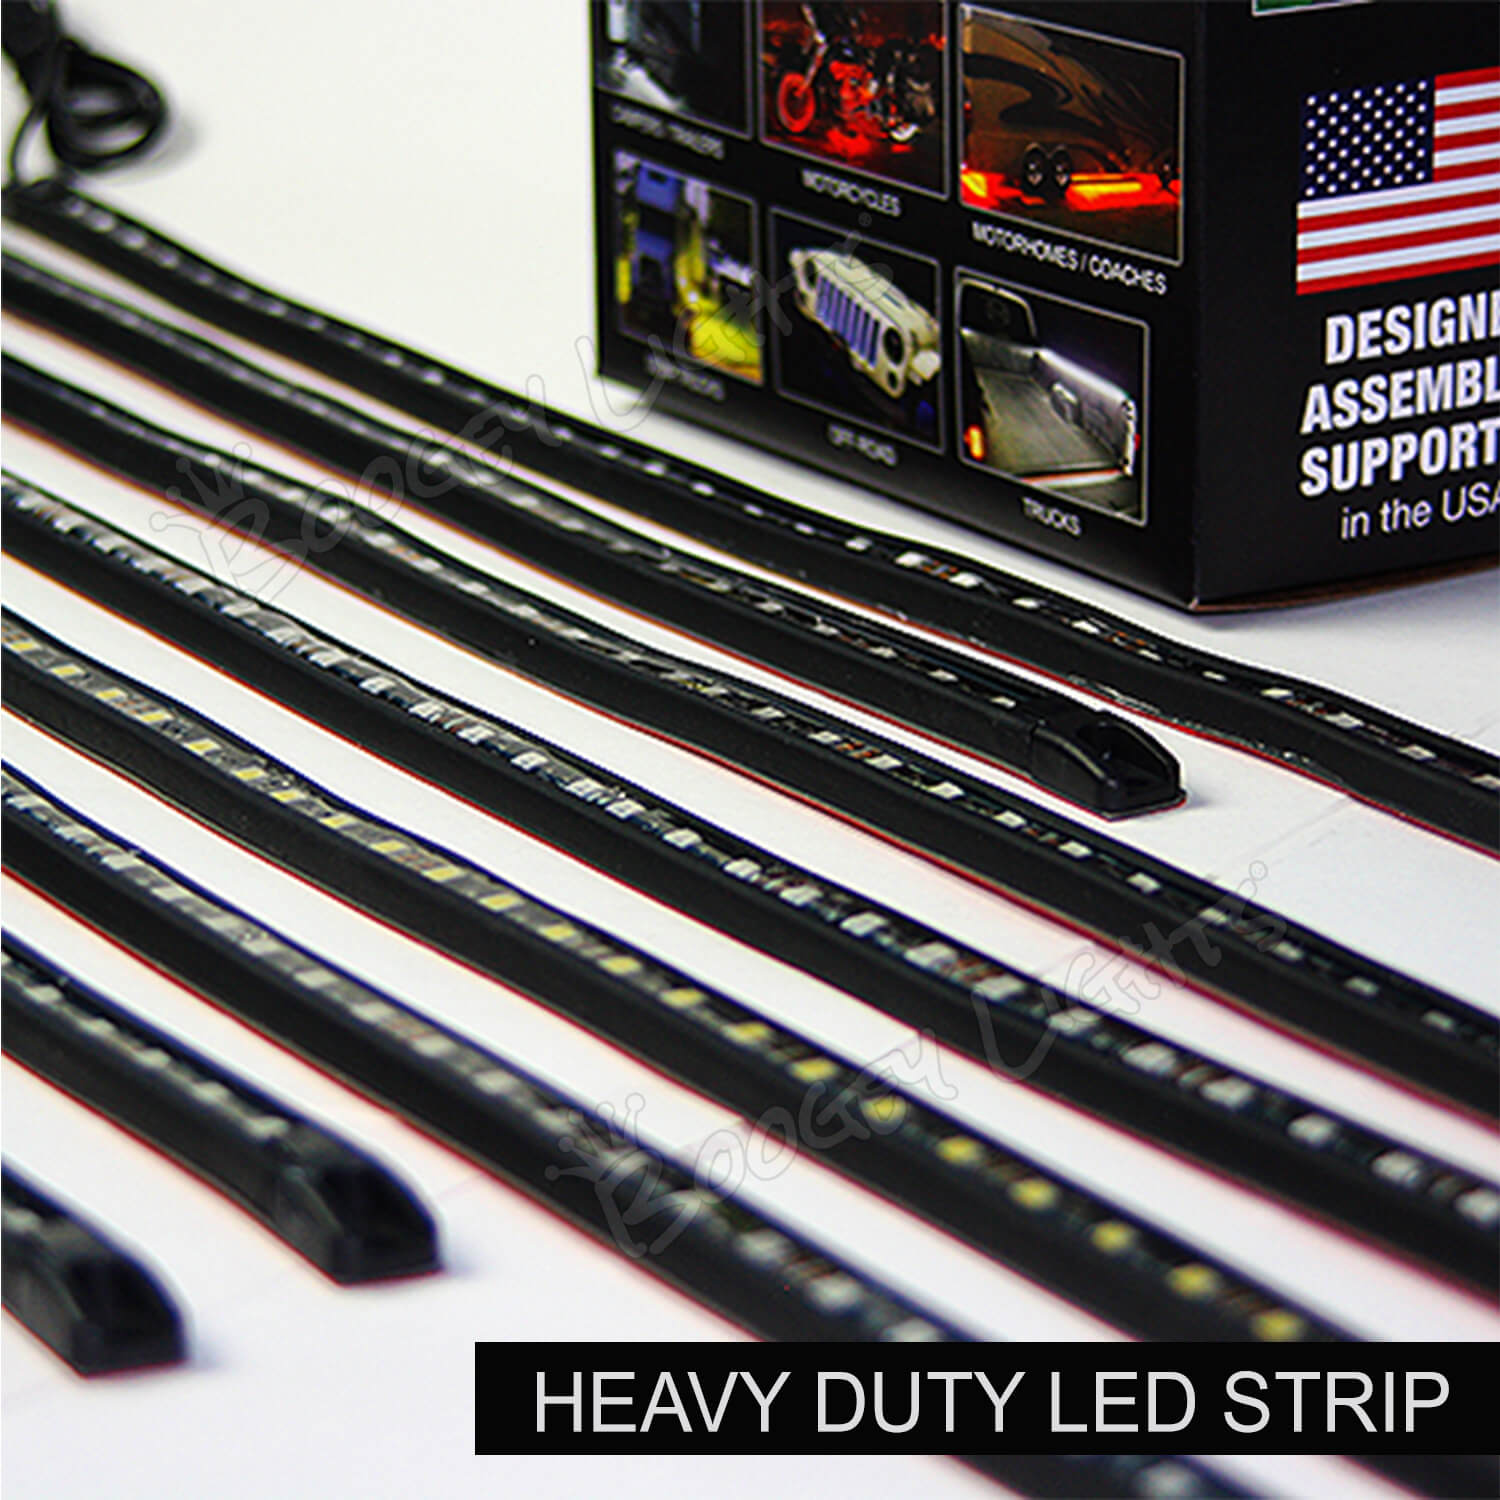
Identifying the LED Strip Style
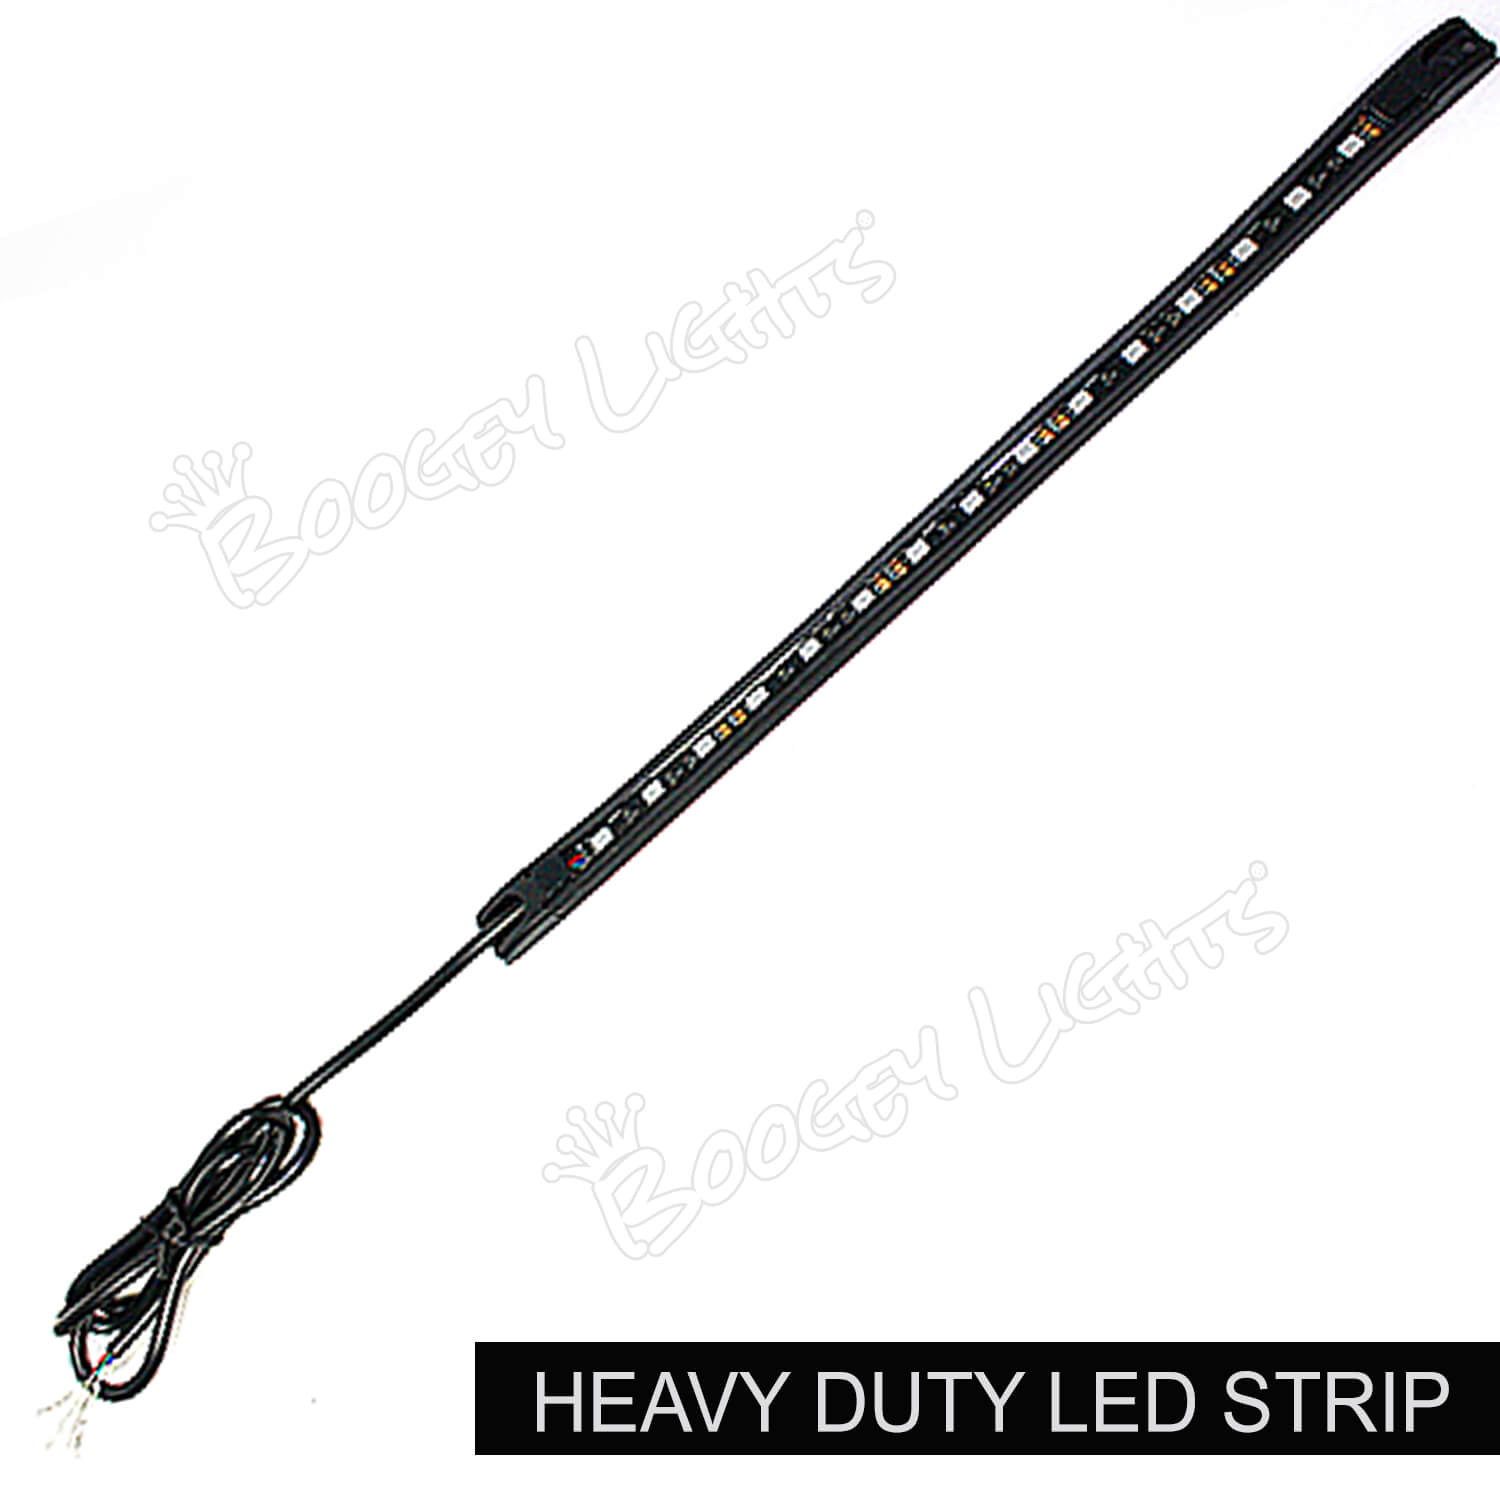
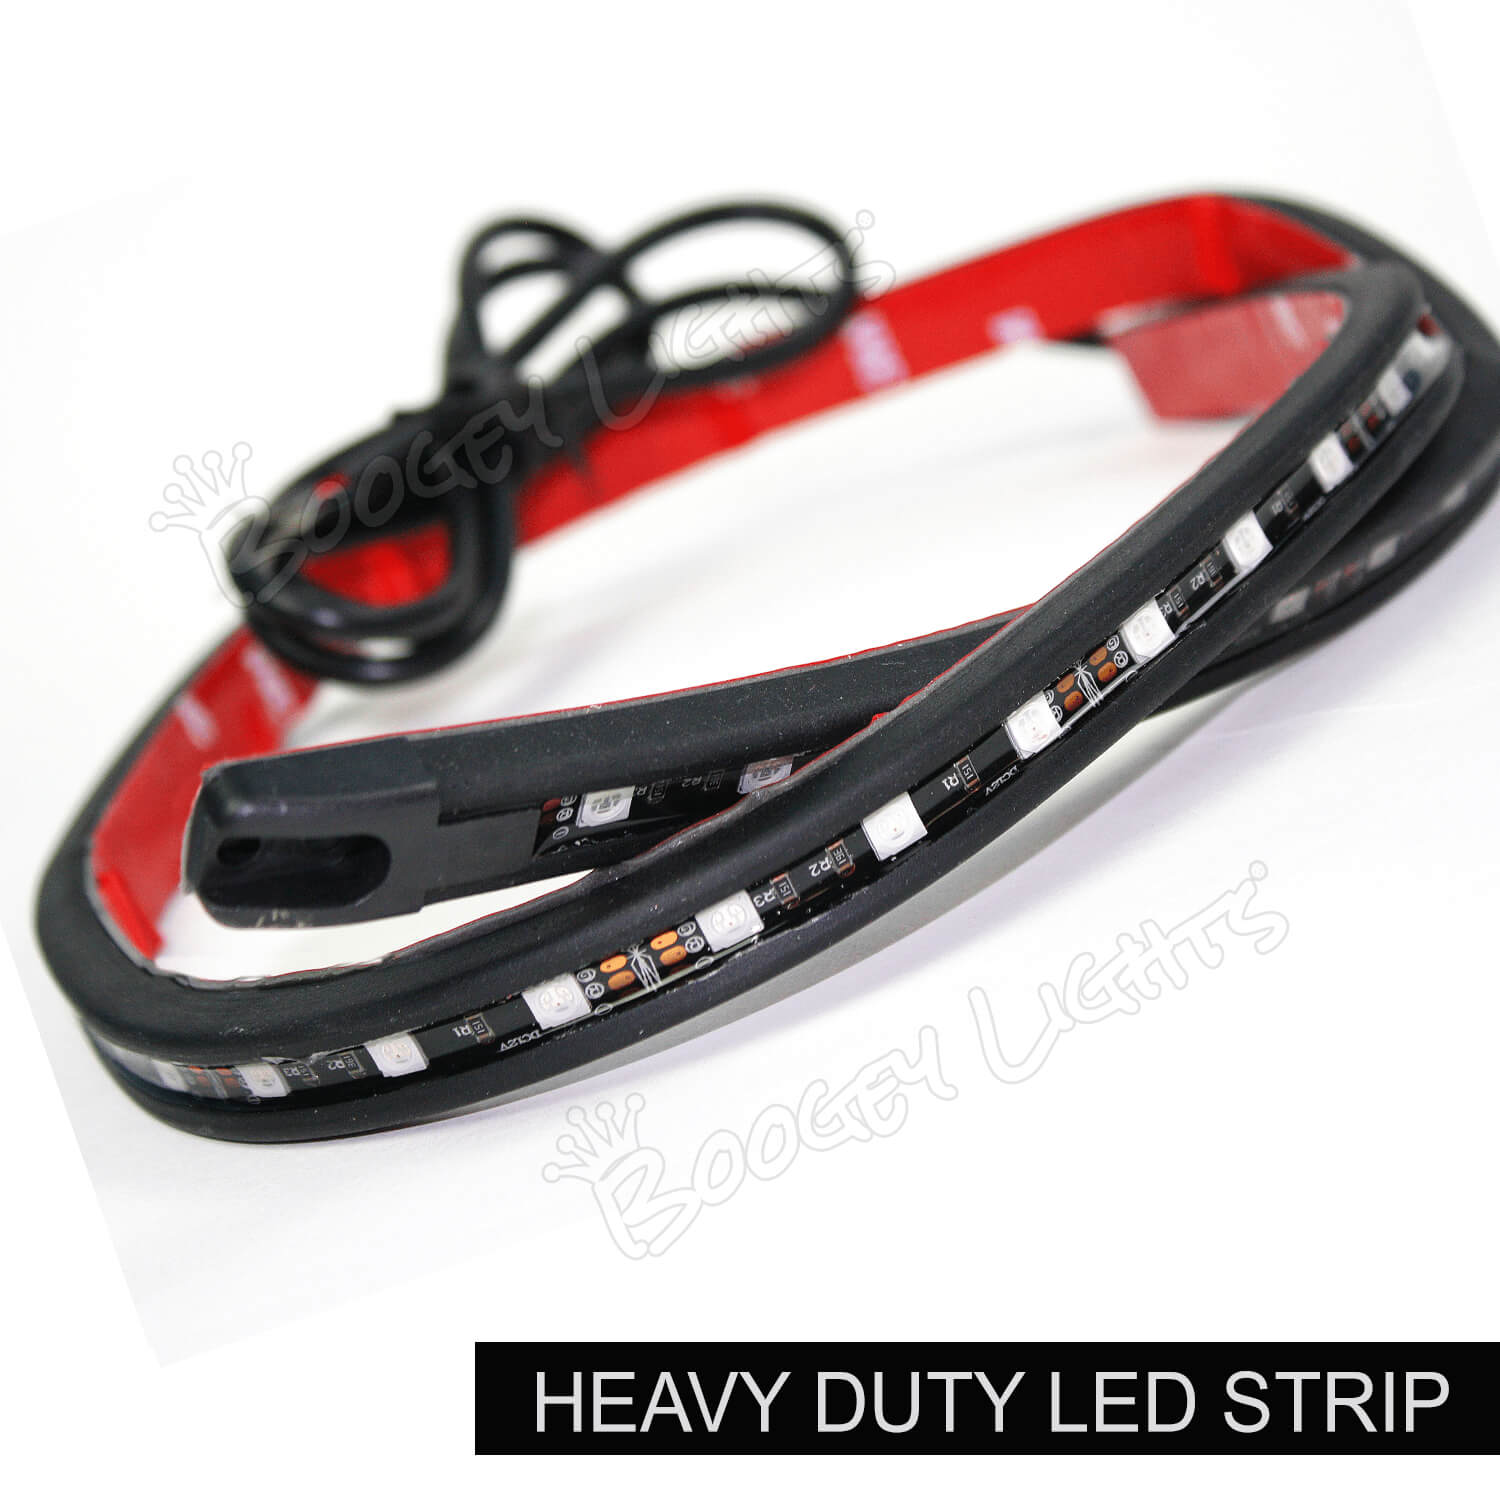
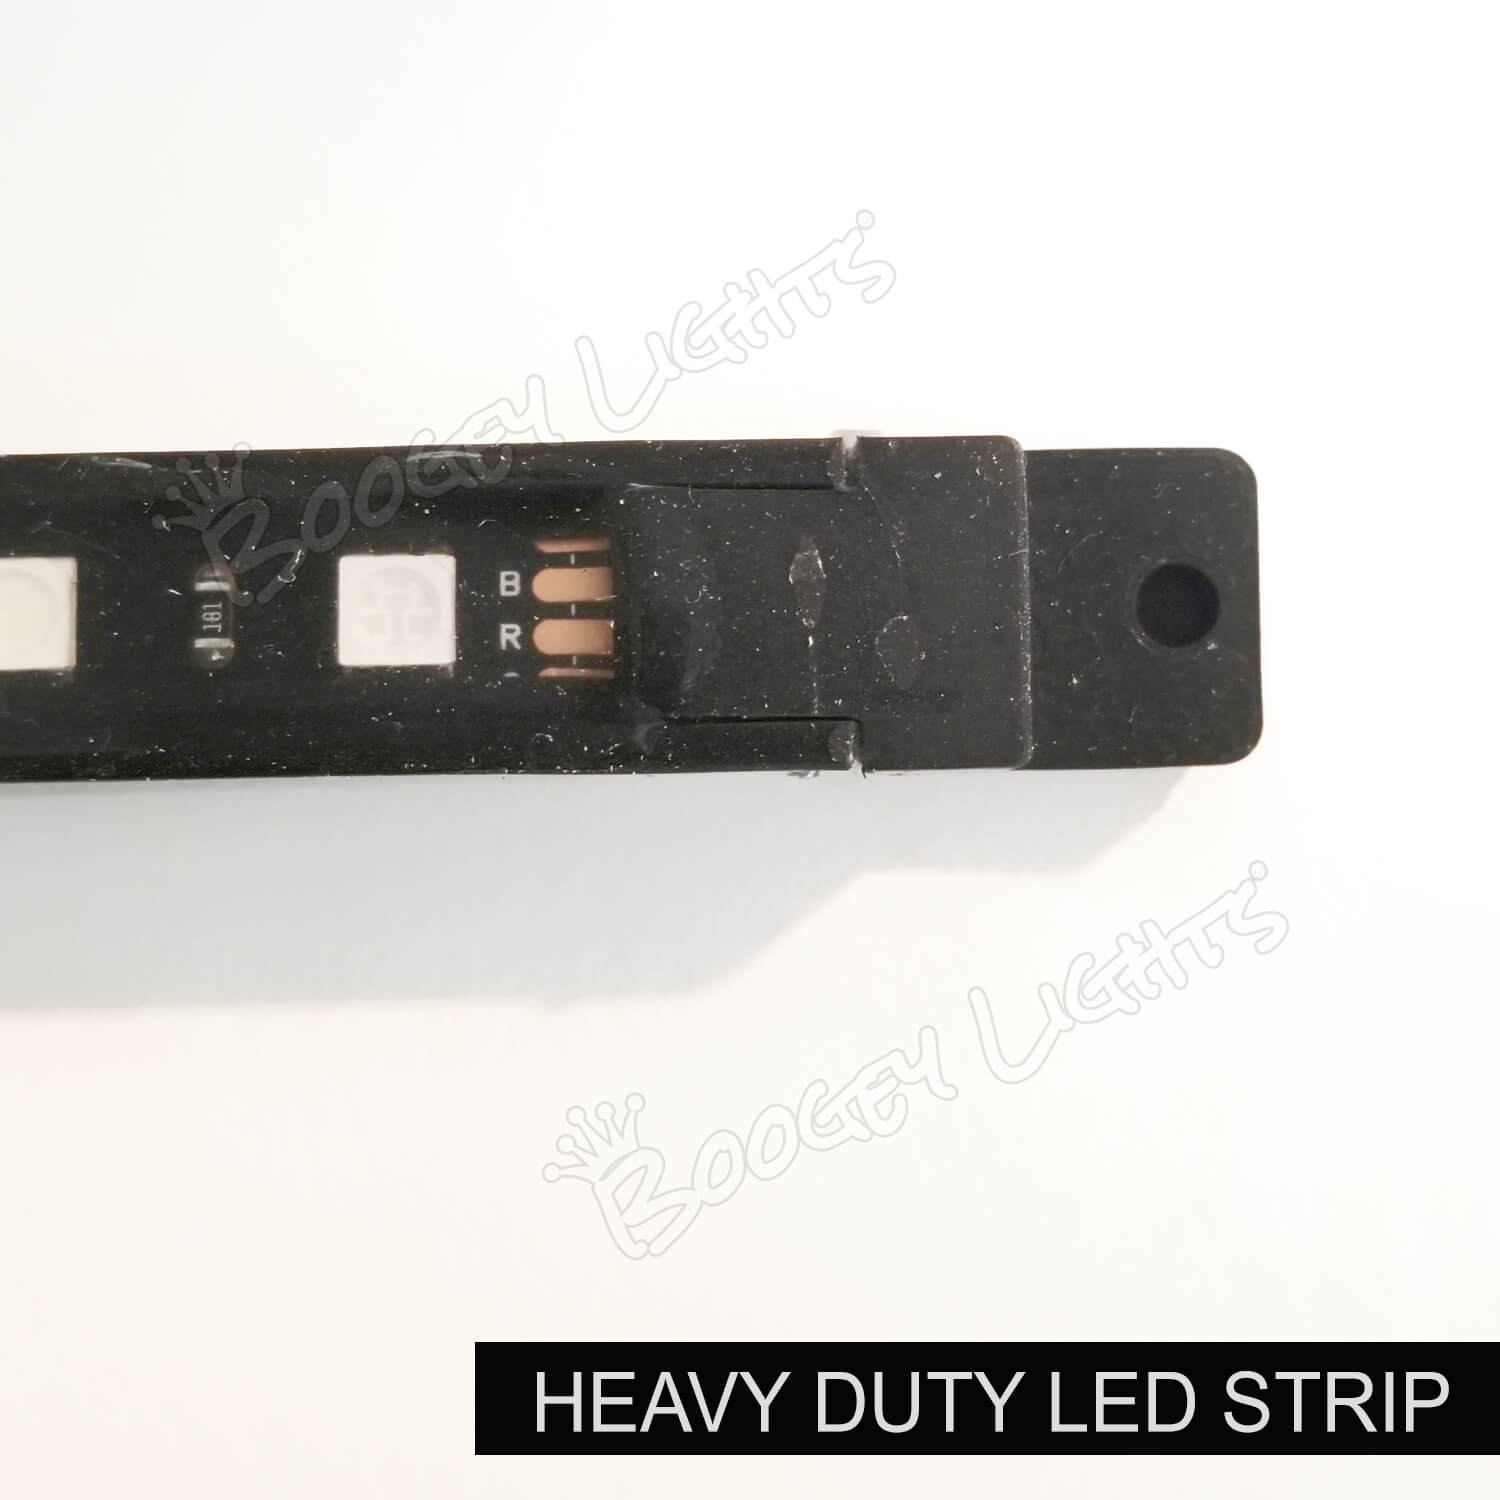
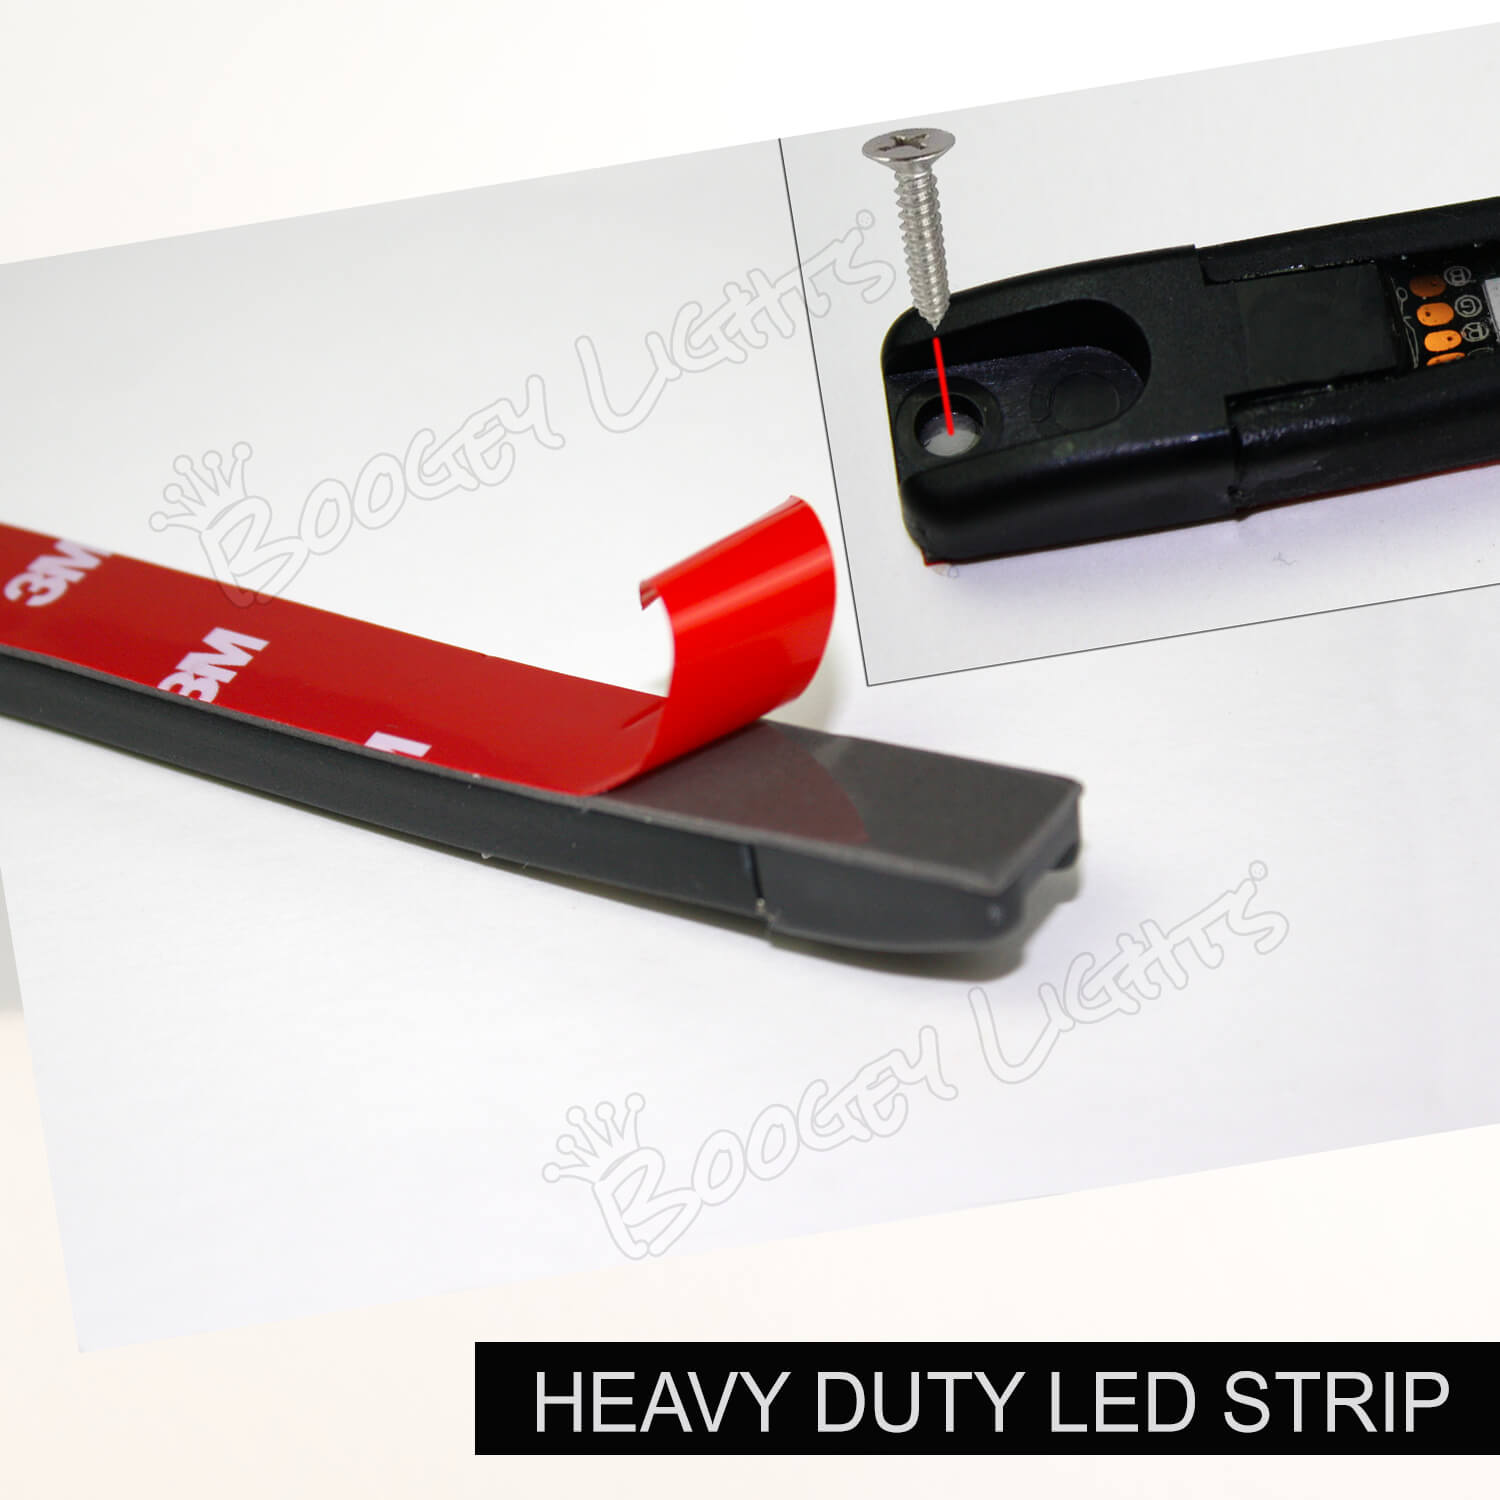
Boogey Lights® manufacturers two types of LED strips: LOW PROFILE and HEAVY DUTY. The Low Profile LED strips are typically used for recreational applications. The Heavy Duty strips are typically used for commercial applications. The Low Profile LED strip can be ordered in lengths from 2" to 197". The Heavy Duty LED strips are offered in five set lengths: 12", 22", 32", 42" and 52". Both LED strip styles use the exact same LED and PCB technology. The only difference is the housing material used to protect the diodes and circuitry.
Images for both styles are below. If you need to order replacement LED strips (or wish to add-on to your existing system), here are the two product page links: LOW PROFILE and HEAVY DUTY. The product pages for each LED strip style are quite detailed. Be sure to read the product information presented on those pages.
Low Profile Strip Images

Heavy Duty LED Strip Images


Trouble Shooting Your Lighting System
LINK > Trouble Shooting Guide
If you need assistance figuring out why something isn't working, this is the place to start. It's very detailed. Important to take the time to review the information on the page if you want to figure out where the problem is.
Finding Parts, How-To Info and More
LINK > Quick-Find
We live in an online world. Everything we do and sell is online. Yes, everything. From components to parts to operating documentation to wiring diagrams, it's all there. 100%. It's searchable using this Quick-Find feature. If you're looking for a part or a particular document, this is a good place to start.
Bench Testing
The bench testing process can be helpful in trouble-shooting your lighting system. Here are a couple of links that describe the process:
PDF Document: How to Bench Test